

Problem: Generic VPS selection often leads to “noisy neighbor” syndrome, I/O bottlenecks, and suboptimal Time to First Byte (TTFB) due to oversold nodes or outdated hardware.
Solution: This SOP implements rigorous selection criteria based on compute architecture and network throughput, followed by a disciplined provisioning sequence to ensure a stable foundation for the DirectAdmin/OpenLiteSpeed stack.
Phase 1: Technical Selection Criteria
Before account creation, the provider must be vetted against these professional baselines. Do not provision on “Budget” or “Shared” VPS tiers.
1. Compute Architecture
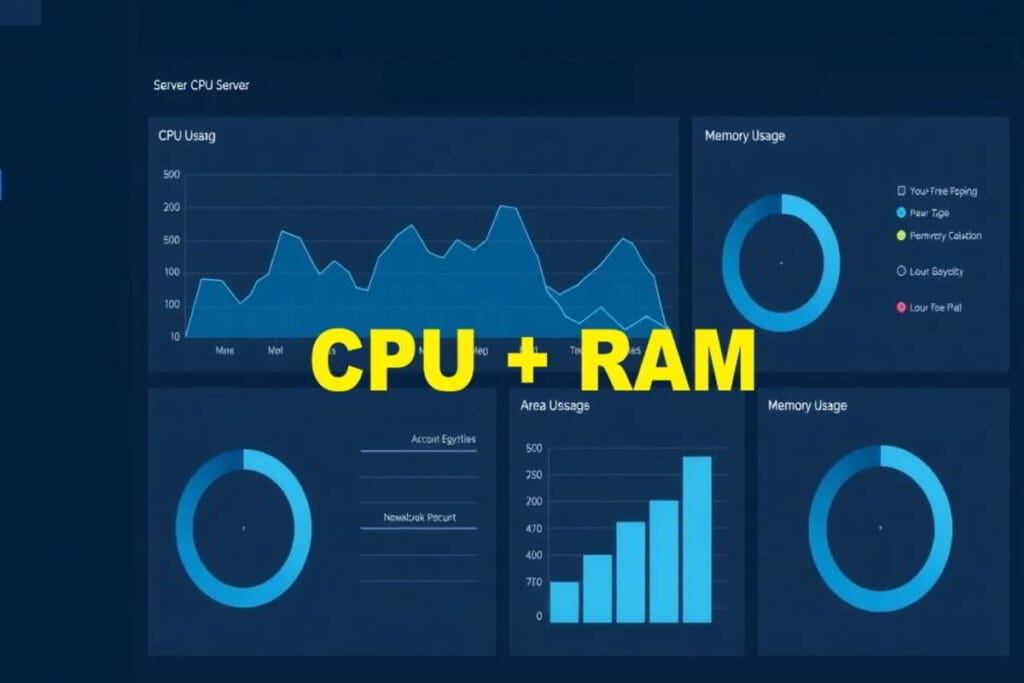
- CPU: Prioritize High-Frequency CPUs (e.g., AMD EPYC or Ryzen 9000 series). Avoid providers that do not specify the CPU model.
- Storage: NVMe is mandatory. SATA SSDs are insufficient for high-performance database I/O. Gen4 NVMe is preferred for production.
- RAM: Minimum 4GB for production stability (8GB recommended for DirectAdmin/OLS stacks).
2. Network & Perimeter
- Port Speed: Minimum 1Gbps uplink (10Gbps preferred).
- DDoS Protection: Integrated Layer 3/4 protection must be standard at the edge.
- Location: Select a data center region closest to the primary target audience to minimize Round Trip Time (RTT). However, a CDN can help with this also.
3. Virtualization Type
Requirement: KVM (Kernel-based Virtual Machine) or similar hardware-level virtualization. This ensures dedicated resource allocation and kernel independence, avoiding the stability issues of OpenVZ/LXC.
Phase 2: Account Provisioning Sequence
Follow this sequence to minimize administrative friction and maximize security.
Step 1: Account Registration
- If feasible, use a professional administrative email (e.g.,
[email protected]). However, you can also use a work email address or personal one, if desired. Usually, your professional domain email might not be created yet, if you’re building this for that new domain. - Immediate Action: Enable Multi-Factor Authentication (MFA/2FA) via TOTP or Hardware Key.
Step 2: Plan Selection
- Select an Unmanaged VPS plan. (Managed plans often restrict root access and custom kernel modifications required for high-performance tuning). SpeedyPage is a world-class leader in high performance NVMe VPS platform plans.
- Resource Target: Minimum 2vCPU / 4GB RAM.
Step 3: OS Image Selection
- Select a clean, minimal installation of a supported LTS distribution (e.g., AlmaLinux or Ubuntu).
- Warning: Avoid “One-Click” app installers; these introduce configuration drift and bloated dependencies. However, with the continued advent of AI and auto-configurations, modern day hosts will let you pick some options and then it will auto-install your specific configuration. This site shows you how to have a lot of options to uninstall and remove options if they were observed as excessive. That’s the advantage of having an “unmanaged” VPS.
Step 4: Initial Network Configuration
- Assign a static IPv4 address.
- Document the Primary IP, Gateway, and DNS resolvers in your password manager.
Provisioning Validation Checklist
Complete this before proceeding to server rebuilding or panel installation.
- MFA Enabled: Account is secured via TOTP/Hardware key.
- Resource Verification: Plan matches selected CPU/RAM/NVMe specifications.
- OS Baseline: OS is a clean LTS version without pre-installed “bloatware.”
- IP Connectivity: Primary IP responds to ICMP ping.
- Root Credentials: SSH root credentials generated and stored in a password manager.
Technical Note: For the technical rationale behind these resource requirements, see the Architectural Analysis of Resource Allocation.
