While there are several ways, this covers the best WordPress WP Install How To Guide. And you’ll learn it step-by-step with pics. The topic area “Create Blog Website” carries this article. Also, “How Do You Start A Blog?” shows it. And finally, it’s a part of the “Designing & Creating Site” category.
What is WP?
WP is the abbreviation for WordPress. WordPress is commonly referred simply as WP. WordPress is an extremely popular software that provides you an easy interface to build, control, and manage a website, blog, online content, and mailing lists. There are many other purposes as it’s currently under worldwide active continued development. Wikipedia provides an excellent explanation of WordPress.
Overview of WordPress WP Install & How To Proceed
You should always follow your own host provider on their installation methods. However, this is the clearest way that defines every single step. For example, the web host provider, HostArmada fully supports WordPress. This is a guide on the prompts and some initial settings that are very difficult to change later or are relatively permanent such as the database names. Also, this example reflects my experiences after having used several host providers but now focus only on HostArmada.
Step 1. START WordPress WP Install
This is how to install WordPress at the start. Even if you have multiple domain names in one cPanel, just start by logging into the cPanel account that includes the domain you’re going to want to use on this. Also, if needed, read our article on “How to Create an Addon Domain in cPanel“.
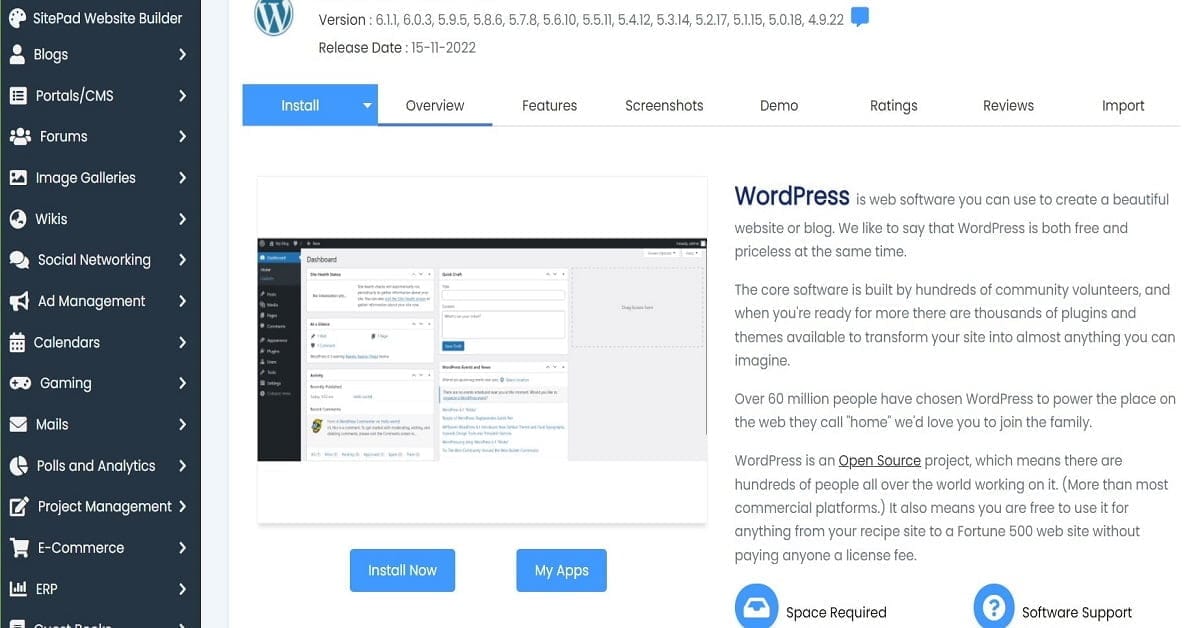
Then, scroll to the very bottom of the cPanel and you’ll come to 2 long, wide horizontal lists. After that, see “Scripts” and “Categories” are their names.
Tap the Script <WordPress>.

You’ll then be shown the WordPress Installation Screen. Then, tap <Install Now>.

Step 2. INITIAL CONFIGURATION – WordPress WP Install Setup
In the next screen that appears, there are multiple sections to populate. So, we’ll go through each one. Do NOT tap “Quick Install”. Just follow these sectioned guided instructions.
2a. WP Software Setup Section
- Go to Choose Installation URL section
- Then, Choose Protocol remains unchanged as: https://
- Choose Domain (from a dropdown list)
- If given a long subdomain name and the shorter equivalent domain name, it’s better to choose the regular domain name (for future ease of use). Here is an example:
- Option 1 (don’t select one like this): MyNewDomain.com.myprimaryrootdomain.com
- Option 2 (select the one like this): MyNewDomain.com
- If given a long subdomain name and the shorter equivalent domain name, it’s better to choose the regular domain name (for future ease of use). Here is an example:
- In Directory (typically, it should be empty and NOT “wp”; change it to be empty.
- Choose the version you want to install (this should reflect the latest version available and remains unchanged. You can tap the down arrow to see the versions list)
- Your installation URL: This should now reflect the domain site itself that you want as your home page.

2b. WP Site Settings Section
- Site Name (you can change after installed easily later on or now): My Blog
- Site Description (you can change after installed easily later on or now): My WordPress Blog
- Enable Multisite (WPMU) (leave unchecked): unchecked
- Disable WordPress Cron (leave unchecked): unchecked

2c. WP Admin Account Section
There are some major things to be aware of before completing this section. Here they are:
- This admin username and email are difficult to change later so, think it through.
- The Usernames aren’t changeable. But the displayed account name is changeable easily later. The user account is removable; however, this is the default starting admin account so, there’s that.
- The Admin Email address is the verifiable admin account for all authority. Comments posted will automatically be emailed to this account so, think through this one. Also, be ready to check mail using this email address after installation. So, if it doesn’t exist yet, pause or stop the installation and create the email’s mailbox.
- Change the default Admin Username (change it now and it’s permanent for this domain): admin
- Tip: Make this admin name relate a little to your domain name. For example, if your domain is MyBestPuppies.com, you could make it “MBPadmin”.
- Admin Password (this can be changed later but it’s good to get it established once now): ___________
- Admin Email (you should have current and long term access to this email; it can be any email address): admin@__________________.com

2d. WP Advanced Options Section
Initially, you’ll have to tap the + sign to reveal the details of the Advanced Options. So, here are the guided instructions for them.
- Database Name (Very Important – a default name is pre-entered; you’ll want a more user friendly name related to your domain name but there’s a length limit; change the name by using a few letters so you’ll recognize the database’s name in technical situations in the future): _______
- Table Prefix (Very Important – a default prefix is pre-entered; you’ll want a more user friendly name related again to your domain name but there’s a length limit; change this table name by using a few letters so you’ll recognize it in future technical situations): _______
- Disable Update Notifications Emails (leave this unchecked): unchecked
- Auto Upgrade WordPress Plugins (leave this unchecked; can be changed easily later): unchecked
- Auto Upgrade WordPress Themes (leave this unchecked; can be changed easily later): unchecked
- Auto Upgrade (you can make any choice you want; default is “Do not…): Do not Auto Upgrade
- Backup Location (tap down arrow and ensure the location will be “default”): default
- Automated backups: Don’t backup
- Backup Rotation (don’t begin with backups here;): (won’t be enabled to change)

2e. Select WP Theme
Themes can be easily changed after the installation is completed. In order to be able to visually follow this guide as well as other classic guides, initially tap the “Default WordPress Theme” you see on the left of the themes list. In this example, it’s the “Twenty Twenty-Three” WordPress Theme; yours might be something newer later. Also, the latest classic theme typically is named to represent a version release year.

You’ll then be shown an expansion of that theme. So, just tap <Select Theme> to continue.

Then, read, understand, and respond to the prompt regarding “Image Copyright”. Optionally choose <Yes> to agree and continue, or <No> to stop the installation.

Step 3. INSTALL NOW – WordPress WP Install Completion
Fill in an email address on where to “Email installation details to”.
Then, tap <Install>. It doesn’t take long. Once fully installed, you’ll potentially receive the email of its completion. You can then proceed to the initial setup of WordPress.

WordPress WP Install Issues
The Progress Meter Bar hangs and doesn’t advance
After tapping to <Install>, if the progress bar hangs, it’s most often an issue with Softaculous, assuming you didn’t see any warnings during any custom settings.
So, if you want to try it again, use any of these known workarounds currently:
- Logout of the Softaculous by tapping on <Logout>, not by just closing the browser.
- Restart the web service or server.
- Submit a comment below if you know of any additional workarounds! It helps everyone.
Related Blogging Guides
Here is a list of related blogging guides that you also might have an interest in.
Conclusion of How To Install WordPress
Now you’ve seen the WordPress WP Install Guide. Also, you followed the easy step-by-step instructions with pics. Also, you learned every text entry to make and what it’s for. So, your next step is to read our “WordPress Setup: Beginner Complete Tutorial“. And it will give your most important WP settings to make. And, for a performance boost, also read over how to get your LiteSpeed Cache Domain Key.