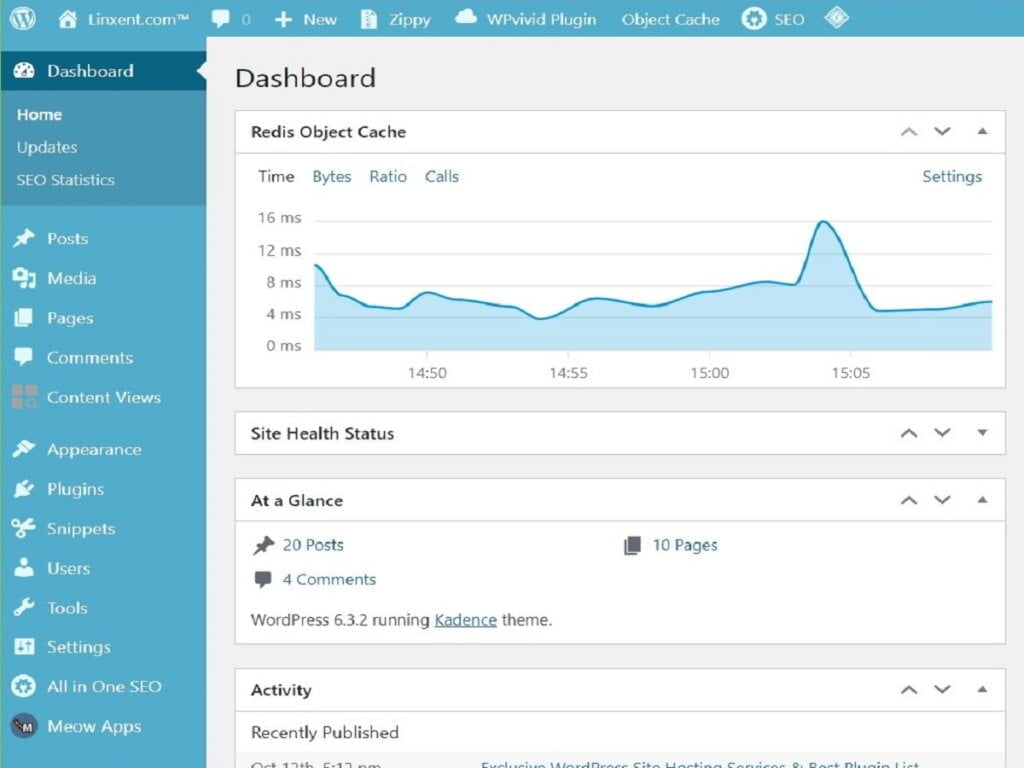
These are implementation guides that will help you create, design, & develop your blog website. They fall under our Site Setup Category. Also, this is a technical phase but is easy to follow because most have orderly step-by-step instructions. These guides will help you with getting through complex processes, projects, or tasks.
Introduction to Blog Website Implementation & Development
The meaning behind Blog Website Implementation & Development is when you create, design, and manage your own site, blog, and have at least partial control of its server platform. Are you just starting to consider blogging or are you considering making some changes to yours? These current blog guides might be a help to you. And, we’re writing many more as this site is still relatively new. I write easier-to-follow guides due to my Technical Writing expertise. As an example of what’s covered, here’s a good list of available and future topic coverage planned.

Self-managed Blog Website Development is to Create, Design, and Manage your own blog site on its own platform.
Blog Website Development Startup Phase
Create startup website using an initial WordPress setup. The following steps are all referenced in that startup website article. Also, there are links provided in some steps where the details are shown.
- Initially, decide on hosting services to use for your blog website.
- Register your site domain name with the hosting service also using their DNS.
- Then, select & buy a hosting plan for that new domain name.
- Then, install WordPress for website foundation.
- After that, apply initial WordPress setup configuration settings.
- Select and designate a site theme. For example, choose Kadence.
- Then, install Kadence starter templates.
- After that, create new Home Page.
- Then, choose and install more WordPress plugins.
- Finally, customize Kadence theme initial settings.
Blog Website Development Secondary Phase
- Initially, perform some basic security tasks.
- Firstly, ensure site is using https protocol by default.
- Secondly, create other user logins, if needed. Also, ensure at least one other admin user account is created.
- Create and implement your site infrastructure (categories, main topics, etc.).
- Then, at this stage, setup and implement a scheduled site backup plan.
- Local hosting plan backup setup
- WPVivid backup system setup
- Learn understanding of using the Media Library and image sizing. That’s because you’re about to be involved with images routinely.
- Create basic recommended pages.
- Create a Comment page, Contact Us, About Us, & Privacy Policy.
- Create initial primary menu, footer menu, & mobile menu.
- Make site header and footer.
- Get or create your own logo and site icon.
- Apply site logo for desktop, mobile, and site icon.
- Setup header and footer layouts for both desktop & mobile.
- Install & setup SEO plugins.
- Consider Basic AIOSEO, Plus AIOSEO, Pro AIOSEO, or Elite AIOSEO
- Install other plugins.
- Code Snippets Pro, Zippy, SEO (AIOSEO), Food Recipes only (WPRM)
Website Performance Phase
- Setup site for maximum performance metrics.
- Install & configure only one of the following: LiteSpeed Cache or FlyingPress.
- LiteSpeed Server Caching (domain setup, attaching domain key
- FlyingPress plugin & setup
- Install & configure only one of the following: LiteSpeed Cache or FlyingPress.
- Check site for performance tests.
Website Development Intermediate & Advanced Topics
- Intermediate & Advanced Topics
- Adding more domain names to same hosting plan (Adding an Addon Domain via cPanel)
- Create a sitemap page.
- Try your own ideas of site design, being aware of performance concerns.
- Sometime, people will hire a temporary tech person to perform some tasks. An extremely reputable site for WordPress site developers is Fiverr.
Want to See a Blogging Guide on a Needed Topic?
This is our foundation page for implementing your blog website. It covers a lot of technical topics. While our site is new, we have many topics in the works for upcoming posts. So, if you’re interested in any particular topic guide, let us know! Just submit a comment below or via our Contact Us page and let us know your interest. If it happens to be on our future list, we’d be happy to expedite that one. We’re here to build on our dedicated readers that took time to reach out to us, and that’s you!

